Simple Skirt Instructions and Freya Top with Ruffles
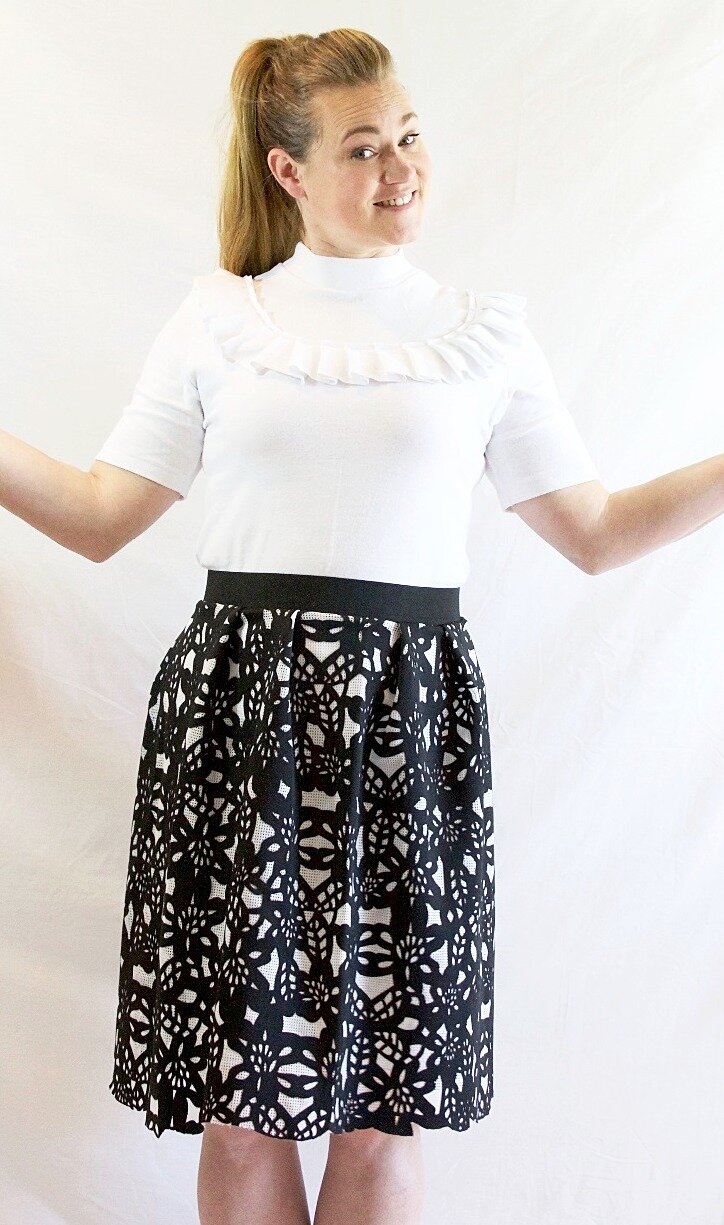
The moment I saw this Nicole Miller Fabric at JoAnn's, I knew it needed to be made into a skirt. Plus, it was 60% off, so there was no way it wasn't coming home with me, it's just basic common sense, right?
I got home and immediately started sketching my idea of what it should like. But what shirt would pair well with this fabulous fabric? The Freya Sweater, from Tilly and the Buttons Stretch! in a nice white knit, of course.
The sketch came together quickly, as well as the sewing. Because I had already made the Freya top before, I had the pattern cut out and ready to go. I had both the skirt and the top done in a day.
The skirt design was a lazy gal's way of throwing a skirt together. This fabric was fabulous on it's own, so I felt like I needed a nice simple design to showcase it. This is what I did:
1. I bought 2" Elastic and measured my waist, then I cut the elastic about an inch smaller than my waist so it would fit nice and snug. I sewed the elastic together to form a band.
2. I folded 1 yard of fabric in half, right sides together and sewed down the selvage seam.
3. I marked the middle front and back, and sides of the skirt and the elastic with pins. Then I matched the pins on the skirt with the pins on the elastic and pinned the elastic to the skirt, right sides together.
4. Now this is where it gets really technical. ;) With the extra fabric that was loose in between the pins, I eyeballed some pleats. I did 2 pleats in between each pin. So 2 pleats on the left front and back, and 2 pleats on the right front and back. Then I sewed the skirt and elastic together with a zig-zag stitch.
5. I skipped hemming this skirt because this fabric I used won't fray. I just cut along the lace pattern lines.
6. Voila! Super lazy way of putting a skirt together, but still effective. :)


